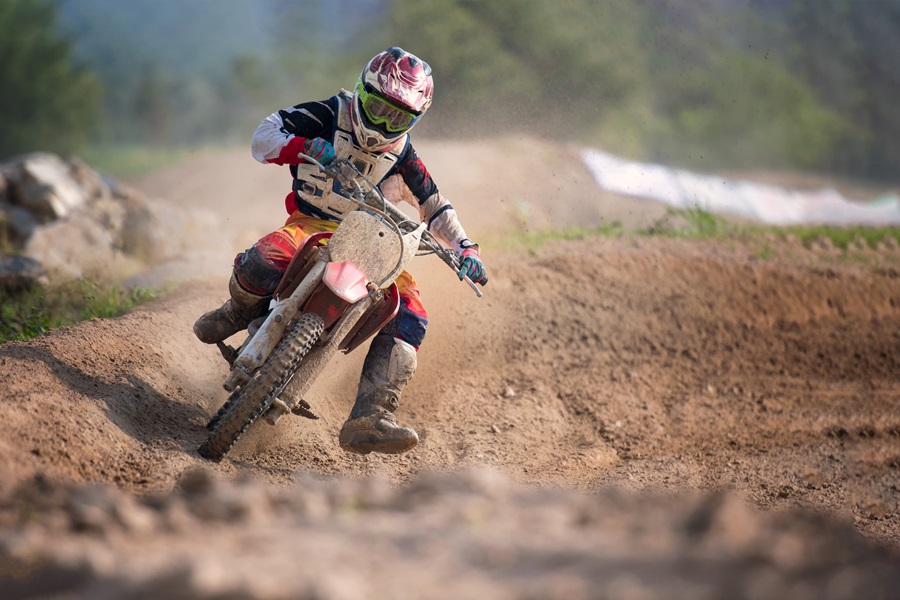
Getting a dirt bike graphics kit made easy: Customize like a pro
Whether you’re looking for a unique look for your dirt bike or wanting to promote sponsors, a graphics kit is the right answer
CUSTOMIZATION MAKES IT easier for a bike to stand out, can help promote sponsors, and can even help to protect the bike from scratches and dents. To customize a bike, the easiest way is to use a graphics kit. Riders will want to make sure they know how to choose the right graphics kit and ensure it looks exactly the way they prefer so their bike will truly stand out and be noticed.
Find the Right Type of Kit
Before getting a dirt bike graphics kit, think about what’s really needed. There are different kits based on what needs to be covered on a bike and choosing one can help create a completely custom bike or enable the buyer to save money. A full kit will include graphics for all parts of the bike, while a trim kit will only cover the bike’s trim. A radiator shroud kit will include the graphics for the radiator shroud and may include decals for the air box, too. Those who are looking for the biggest impact will want a full kid.

Choose the Background Colors
It is a good idea to choose the background colors carefully, as this can either detract from or enhance the design. Those who are racing or who have a sponsorship may want to stick with brand colors to help the bike stand out and be noticed. It is possible to choose from standard colors or to customize the background colors, though customization can be a little bit more expensive. Customization allows for a precise match in color that may not be possible with the standard colors offered.
Customize the Decals
It’s possible to customize the graphics to meet the rider’s needs. Those who have a sponsorship will want to customize the graphics to help promote their sponsor. Those who do not have one may want to add custom photos or wording to help make sure the bike stands out as much as possible. This can even help the person get a sponsorship in the future, as companies looking to sponsor a rider may notice the bike easier.

Tackle the Installation
It is crucial to make sure the installation is done properly so the decals will last as long as possible. The basic steps for installation include the following.
- Remove Graphics – If the bike has had graphics installed previously, they will need to be removed. Take care to remove all residue from the old graphics before applying the new ones.
- Clean the Bike – The bike should be cleaned completely to help make sure the decals will stick and will stay on the bike. Use cleaners designed to remove residue if needed.
- Install New Graphics – Take some time when installing the new graphics to make sure they’re placed properly and are as smooth as possible. Heat can help during this process, but use it with care to prevent warping.
- Remove Bubbles – If there are any bubbles, take the time to remove them completely before the installation is completed.
Whether you’re looking to promote a sponsor while riding or you’d just like a unique look for your bike, a graphics kit is the right answer. Take the time to make sure the graphics kit meets your needs exactly by customizing each step, and then make sure the installation is done right to ensure it looks amazing. With the right graphics kit, your bike will stand out.

