How to use the intraoral camera
Utilizing an intraoral camera can significantly improve the dental experience for both practitioners and patients
INTRAORAL CAMERAS ARE revolutionising dental practices by enhancing patient communication and improving diagnostic accuracy. These small, handheld devices allow dentists to capture high-quality images of the mouth, making it easier to identify issues and explain treatment options. Understanding how to effectively use an intraoral camera can improve a dental practice, foster trust with patients, and ultimately lead to better oral health outcomes.
Understanding Intraoral Cameras
Intraoral camera is essential tools in modern dentistry. These handheld devices capture clear images of the oral cavity, improving diagnostics and patient communication.
Definition and Purpose
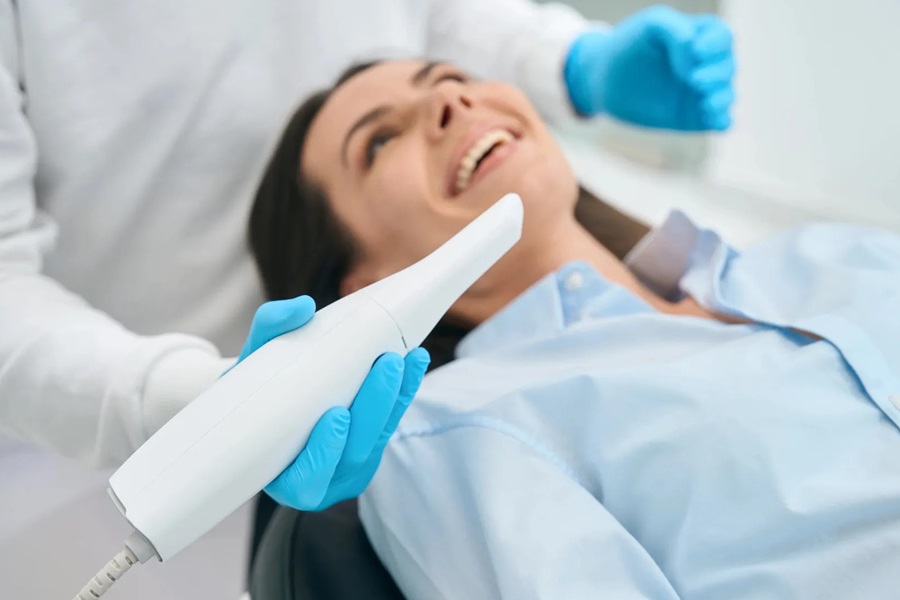
Intraoral cameras are small, wand-like devices equipped with a light and a camera lens. They provide high-resolution images of teeth, gums, and other oral structures. These images help dentists identify issues such as cavities, gum disease, and cracks. Additionally, they allow for real-time imaging during examinations, enhancing the diagnostic process. By sharing these visuals with patients, dentists can clarify conditions and treatment options, fostering trust and understanding.
Types of Intraoral Cameras
Several types of intraoral cameras cater to different dental needs:
- Wired Intraoral Cameras: These connect directly to a computer, allowing for immediate viewing of images. They often provide high-quality resolution but may limit mobility.
- Wireless Intraoral Cameras: These operate via Wi-Fi, offering greater flexibility for clinicians. They typically feature rechargeable batteries and enable easy access to images from multiple locations within the practice.
- Intraoral Scanners: These advanced systems create 3D digital impressions of the mouth. They are particularly useful for restorative procedures and orthodontics, and are commonly used by professionals like an experienced orthodontist Richmond Hill to ensure precision and comfort in treatment planning.
- Patient-Friendly Cameras: These devices are designed for easy use by patients. They allow patients to investigate their oral health, providing a deeper understanding of their dental conditions.
Each type offers unique benefits, enabling dental professionals to select the most suitable option for their practice and patient needs.

Setting Up the Intraoral Camera
To effectively set up an intraoral camera, follow these essential steps to ensure optimal performance.
Required Equipment
Ensure the following equipment is available before using the intraoral camera:
- Intraoral Camera: The primary device used for capturing images.
- Laptop or Monitor: A compatible display device to view images in real-time.
- USB Cable: This cable connects the camera to the display device if a wired model is in use.
- Power Supply: For wired cameras, a power source is essential to maintain operation.
- Cleaning Supplies: Use disinfectant wipes or solutions to sanitize the camera before and after use.
Connection to Devices
Establishing a connection between the intraoral camera and associated devices is crucial. Follow these steps:
- Identify the Connection Type: Determine whether the camera is wired or wireless.
- For Wired Cameras: Connect the USB cable from the camera to the laptop or monitor. Plug the power supply into the camera.
- For Wireless Cameras: Ensure the camera is charged and powered on. Follow the pairing instructions provided by the manufacturer to connect to the display device.
- Install Software: Download and install any required software that facilitates image viewing and saving.
- Launch the Application: Open the software on the device to display the camera feed.
- Test the Connection: Verify the connection by capturing a test image, ensuring the camera functions as intended.
These steps provide a structured approach to setting up the intraoral camera efficiently and effectively.
Step-by-Step Guide on How to Use the Intraoral Camera
Using an intraoral camera involves several clear steps, from preparing the patient to capturing images effectively. Following these steps ensures a smooth and efficient examination process.
Preparing the Patient
Preparing the patient creates a comfortable environment for the intraoral procedure. Begin by explaining the purpose of the camera and how it benefits the patient. Provide assurance that the process is non-invasive and quick. Position the patient in a reclining chair with their mouth accessible. Ensure adequate lighting to improve image quality. Offer a protective bib to keep the patient clean and provide any necessary suction devices to manage saliva during the procedure.
Operating the Camera
Operating the camera involves straightforward steps to achieve optimal functionality. Turn on the camera and ensure the display device, such as a monitor or laptop, is also powered on. Connect the camera to the device, ensuring a secure connection if using a wired model. Adjust camera settings according to the manufacturer’s guidelines, selecting the resolution and image formats suitable for diagnosis. Hold the camera steadily, aiming it at the area of interest while maintaining comfort for the patient.
Capturing Images
Capturing images requires precision and technique. Position the camera at a slightly angled perspective for the best view. Press the capture button gently, allowing the camera to focus on the desired area. Review the image immediately for clarity and adjust the angle if needed. Capture multiple images of various angles to provide comprehensive documentation of the patient’s oral condition. Save each image according to the patient’s file, ensuring easy access for future reference.

Tips for Effective Use
Effective use of an intraoral camera enhances both diagnostic accuracy and patient interaction. Dental professionals can implement specific techniques to maximize the benefits of this technology.
Image Quality Improvement
Image quality plays a crucial role in accurate diagnosis. To improve image quality, consider the following:
- Ensure proper lighting: Utilize the camera’s built-in light efficiently to illuminate the area being photographed. Adequate lighting enhances visibility and detail.
- Maintain camera stability: Hold the camera steadily during image capture. Movement can result in blurriness, diminishing clarity.
- Adjust focus as needed: Use the camera’s focus feature to achieve sharp images. Clear images allow for better analysis and communication of findings.
- Clean the lens regularly: Regularly clean the camera lens to prevent smudges or debris from affecting image quality. A clean lens delivers clearer images and accurate details.
- Take multiple images: Capture several angles of the same area. Multiple images provide a comprehensive view, aiding in better diagnosis and treatment discussions.
Patient Communication Techniques
- Explain each step: Briefly describe the purpose and process of using the camera to the patient. Understanding reduces anxiety and encourages cooperation.
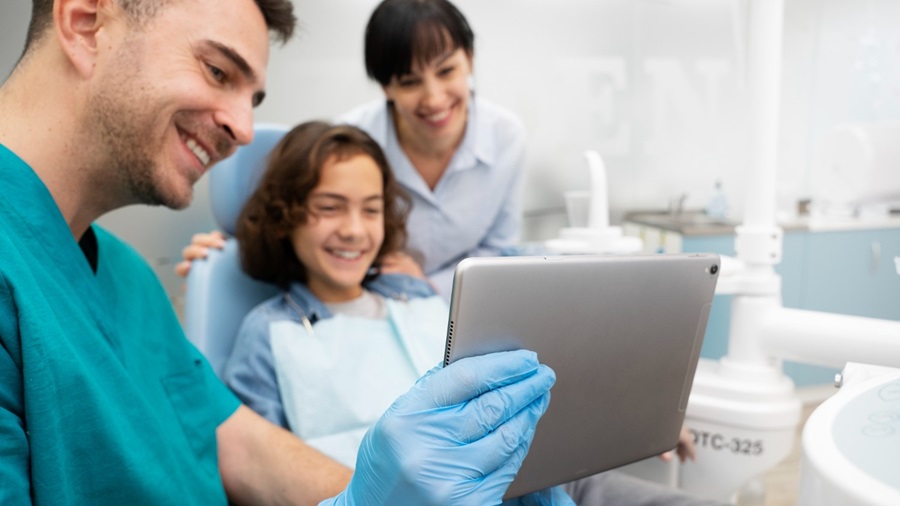
- Show real-time images: Display images on a monitor as they are captured. Viewing their own dental condition helps patients grasp issues and understand proposed treatments.
- Use simple language: Avoid technical jargon when discussing findings with patients. Clear explanations ensure patients comprehend their oral health situation.
- Encourage questions: Invite patients to ask questions during the examination. Engaging with patient inquiries fosters trust and involvement in their care.
- Summarize findings: After the examination, summarize key points, reinforcing the reasons behind recommended treatments. This ensures that patients feel informed about their care decisions.
Conclusion
Utilizing an intraoral camera can significantly improve the dental experience for both practitioners and patients. By capturing high-resolution images, these devices bridge the gap between diagnosis and communication. They empower dentists to provide clearer explanations of treatment options while fostering trust and understanding.
With proper setup and effective usage, intraoral cameras can streamline examinations and improve diagnostic accuracy. By focusing on image quality and patient interaction, dental professionals can ensure that each visit is informative and reassuring. Embracing this technology not only elevates practice standards but also contributes to better overall patient care.

