

Pod lights vs. ditch lights: What’s the difference and do you need both?
Understanding this distinction between pod lights and ditch lights makes it easier to decide whether a vehicle needs one setup or the other
AUXILIARY LIGHTING CAN make nighttime driving easier when a truck, Jeep, or SUV leaves paved roads and heads onto trails. Two terms that frequently appear when planning an off-road lighting setup are pod lights and ditch lights. They are sometimes used interchangeably, but they do not describe exactly the same thing.
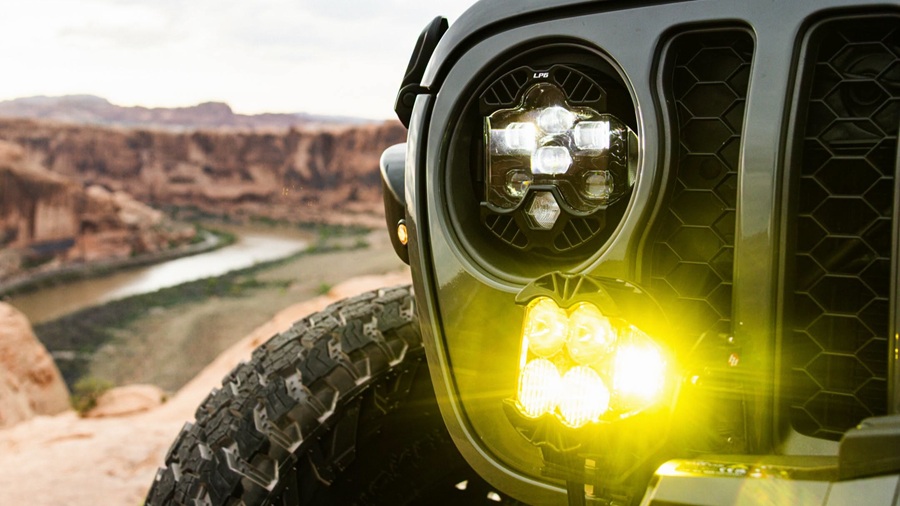
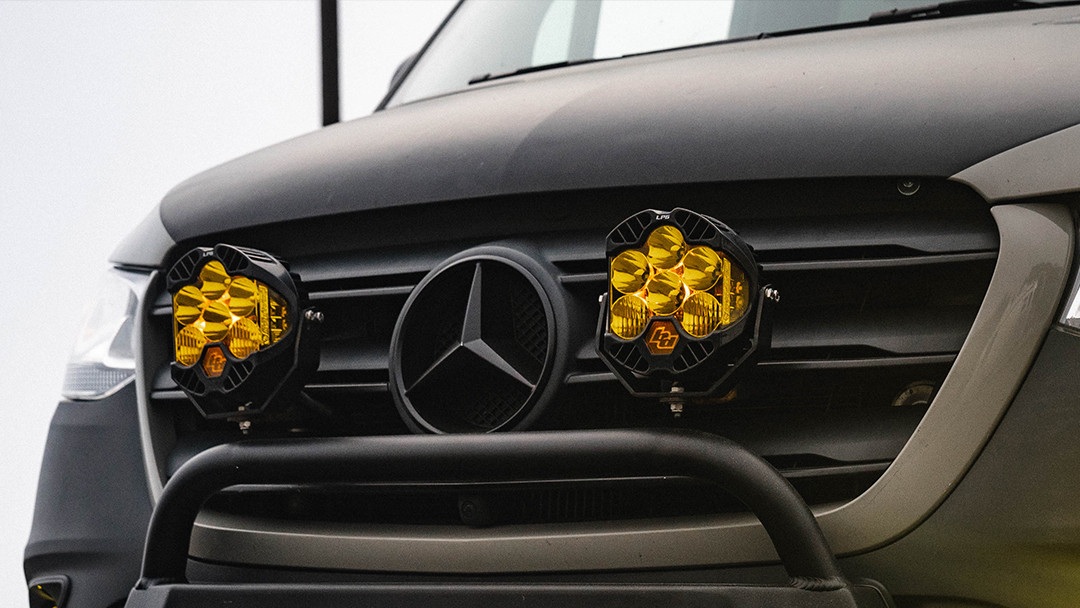
Pod lights generally refer to the compact light fixtures themselves. Their relatively small size makes them versatile enough for bumpers, roof racks, grille areas, A-pillars, and other mounting locations. Drivers looking for pod lights for truck applications can use them to supplement factory headlights with additional illumination based on the selected position and beam pattern.
Ditch lights, on the other hand, describe how auxiliary lights are positioned and used. They are typically mounted near the A-pillars or hood area and aimed outward to illuminate the sides of a trail. In many cases, the fixtures being used as ditch lights are themselves pod-style lights.
Understanding this distinction makes it easier to decide whether a vehicle needs one setup, the other, or a combination of several auxiliary lights.
What Are Pod Lights Designed to Do?
Pod lights are compact auxiliary fixtures that can perform several lighting jobs depending on where they are mounted and which beam pattern they use. Their smaller size is one of their biggest advantages because drivers can add targeted illumination without installing a full-width light bar.
Front bumper mounting is a common option. Pods in this position can supplement forward illumination while keeping the lighting relatively low on the vehicle. Depending on the beam pattern, they may help illuminate the trail directly ahead or provide broader coverage near the edges.
Pod lights can also be installed higher on a vehicle. Roof racks, windshield pillars, and other elevated mounting areas can change how the beam reaches the terrain. Higher positioning may provide improved visibility in some situations but can also create hood glare if the lights are aimed incorrectly.
The beam pattern is just as important as the mounting point. A concentrated pattern can help drivers see farther down an open trail, while a wider pattern can illuminate a broader area closer to the vehicle. Choosing the appropriate beam for the desired purpose prevents drivers from adding lights that simply duplicate coverage they already have.
Size also makes pod lights useful on vehicles where mounting space is limited. They can often fit around winches, bumpers, racks, or other aftermarket equipment where a longer light bar would be difficult to install.
Because of this flexibility, pod lights are better thought of as building blocks within a larger off-road lighting system. Their job depends on how the owner chooses to position and aim them.
How Ditch Lights Improve Side Visibility
Ditch lights are typically intended to illuminate areas that factory headlights do not cover particularly well. Rather than focusing directly down the center of the trail, they are commonly aimed outward toward the sides of the vehicle.
This side visibility can be helpful on narrow trails where drivers need to identify trees, rocks, drop-offs, trail edges, or turns before reaching them. It can also make it easier to see where a trail continues through an intersection or sharp corner.
The mounting location is what creates the familiar ditch-light setup. Most ditch lights are positioned near the rear edges of the hood or along the lower A-pillar area. From there, the fixtures can be angled slightly outward rather than pointing straight ahead.
Correct aiming is important. A light pointed too far forward may simply overlap the headlights or bumper lights. One aimed too far sideways may illuminate areas that provide little useful information to the driver.
Ditch lights can also be useful during slower off-road driving. When navigating technical terrain, knowing what is beside the front tires can be just as valuable as seeing farther ahead.
Drivers should test their lighting setup at night in a safe location. Sitting in the normal driving position while adjusting the lights helps determine whether the beam actually improves useful visibility instead of producing glare on the hood, mirrors, or windshield.
Because ditch lights are generally high-output auxiliary lighting, owners should also consider applicable roadway rules. Equipment that is useful on a dark trail may not be appropriate for normal street use, so independent switches make it easier to keep the system off when it is not needed.
Comparing Beam Patterns and Mounting Locations
The biggest difference between pod lights and ditch lights is not necessarily the hardware. It is the purpose of the installation.
A pod mounted on the bumper and aimed forward is functioning as a forward auxiliary light. That same style of pod installed near the A-pillar and angled outward can become part of a ditch-light setup.
Beam pattern should therefore be selected before the final mounting position is decided. Drivers need to identify where their current lighting has gaps and then add illumination specifically for those areas.
Forward-facing pods may be useful when factory headlights do not provide enough distance or width on remote trails. Ditch lights address a different problem by improving visibility along the sides.
Mounting height changes performance too. Lower lights can help reveal shadows and terrain closer to the road surface, while higher mounting locations may extend visibility over uneven terrain. However, elevated lighting can reflect off the hood or other body panels.
Vehicle configuration matters as well. A lifted truck with a large bumper may need a different setup than a stock Jeep. Roof racks, spare tires, winches, antennas, and other accessories can influence both mounting space and beam obstruction.
Lighting should also be aimed after suspension or body modifications. Changing vehicle height can alter the direction of an existing beam, so an installation that was properly aimed before a lift may need adjustment afterward.
Running Both Types of Lights Makes Sense
For some off-road vehicles, running multiple pod-light positions can create more complete trail coverage. Forward-facing pods and outward-facing ditch lights address different areas, which means they can complement each other instead of competing for the same job.
Drivers who frequently travel narrow wooded trails may place a high value on side visibility. Someone who spends more time on open desert terrain may prioritize forward distance. A vehicle that regularly encounters both environments may benefit from having separate lighting systems.
Independent controls are useful when several light positions are installed. Drivers may not need every auxiliary light during every trip. Separate switches allow forward pods, ditch lights, and other equipment to be activated only when their coverage is useful.
This approach can also help reduce unnecessary glare. Turning on every available light does not automatically improve visibility. Too much reflected light can make shadows harder to interpret or reduce the driver’s ability to see farther into darker areas.
Electrical capacity should be considered when adding several fixtures. Owners should use appropriate wiring, relays, fuses, and connections while following the requirements of the lighting equipment and vehicle. Wiring should also be routed away from heat, sharp edges, and moving components.
Mounting hardware deserves regular inspection. Off-road vibration can gradually loosen fasteners, which may cause lights to shift from their intended aim. Cleaning the lenses after dusty or muddy trips also helps maintain useful output.
Drivers building a more complete setup can compare the Baja Designs LP6 with other auxiliary lighting configurations to determine which fixture sizes and beam patterns fit the type of terrain they regularly drive.

Conclusion
Pod lights and ditch lights are closely related, but the terms describe different aspects of an off-road lighting setup. Pod lights are compact auxiliary fixtures that can be mounted in several locations, while ditch lights are generally auxiliary lights positioned and aimed to improve visibility along the sides of a trail.
Whether a vehicle needs both depends on where it is driven. Forward-facing pods can increase illumination ahead, while properly aimed ditch lights can reveal corners, trail edges, obstacles, and terrain outside the normal headlight pattern.
For drivers who regularly travel different types of trails after dark, combining both setups can provide more balanced coverage. The key is to give each light a specific purpose, choose an appropriate beam pattern, mount it securely, and aim it carefully. A thoughtful setup can improve nighttime visibility without simply adding unnecessary brightness.